setting up pilates reformer
Setting Up Pilates Reformer A Comprehensive Guide
Pilates reformer is a fantastic piece of equipment that enhances strength, flexibility, and overall body awareness. Whether you're a seasoned practitioner or a beginner, setting up your Pilates reformer correctly is essential for a safe and effective workout. In this guide, we will explore the necessary steps to set up your Pilates reformer, ensuring you get the most out of your sessions.
1. Choosing the Right Space
Before you even think about how to set up your reformer, it’s essential to choose the right space. Ideally, the area should be well-ventilated and free from distractions. You need enough room to move around freely while performing your exercises. Make sure the space allows you to extend your limbs fully without hitting any obstacles. A clean and organized workout environment will not only motivate you but also contribute to a more focused practice.
2. Understanding the Reformer Components
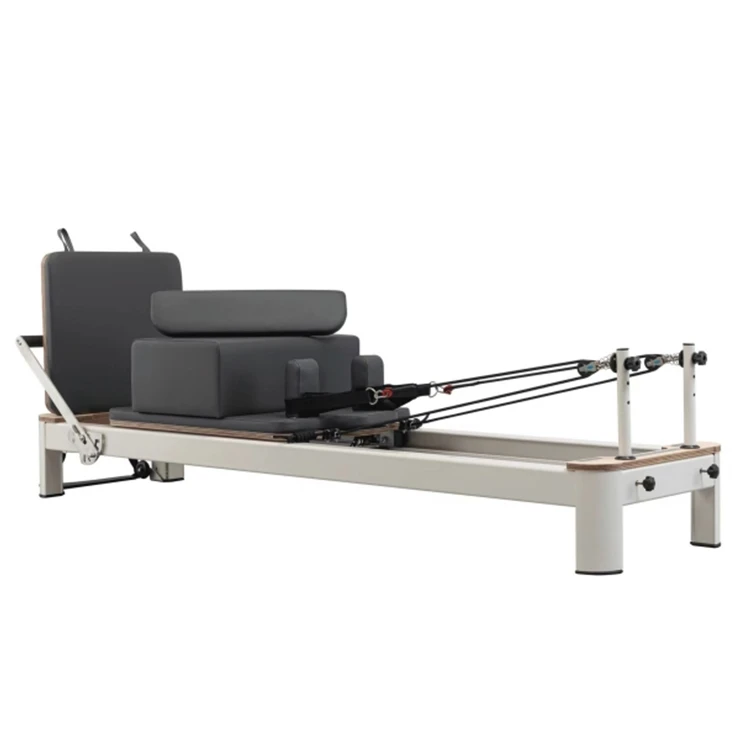
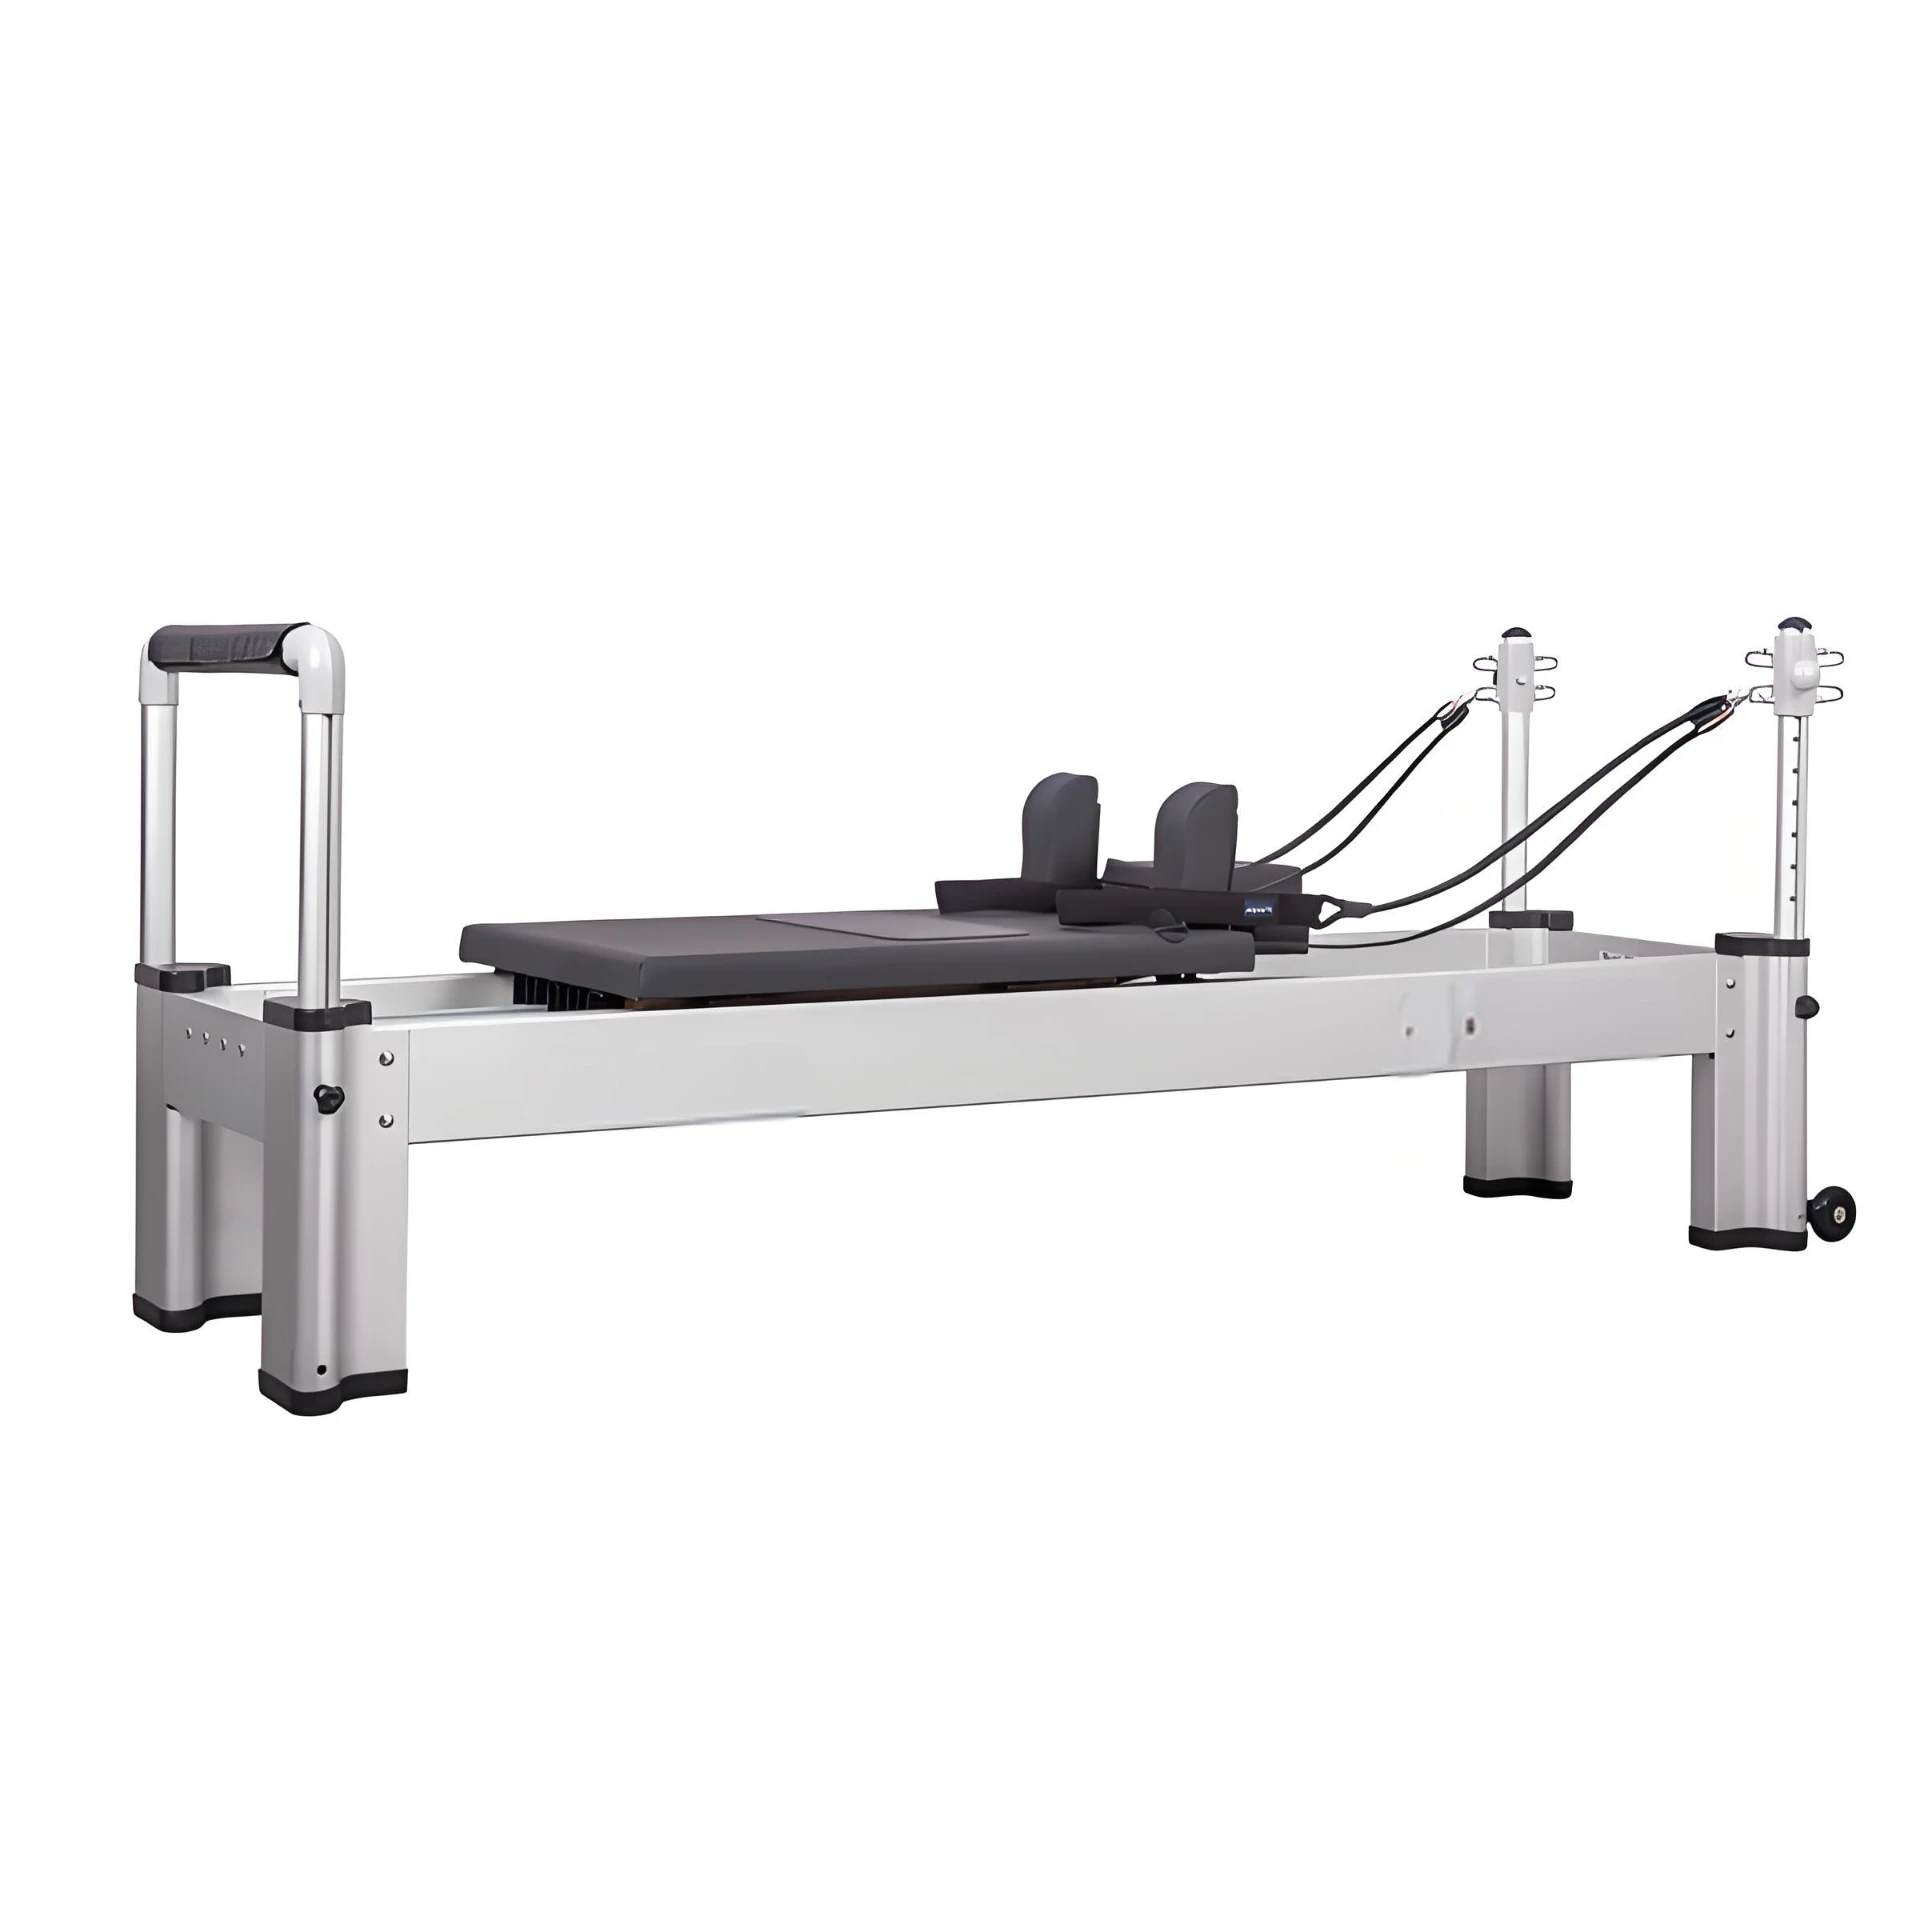
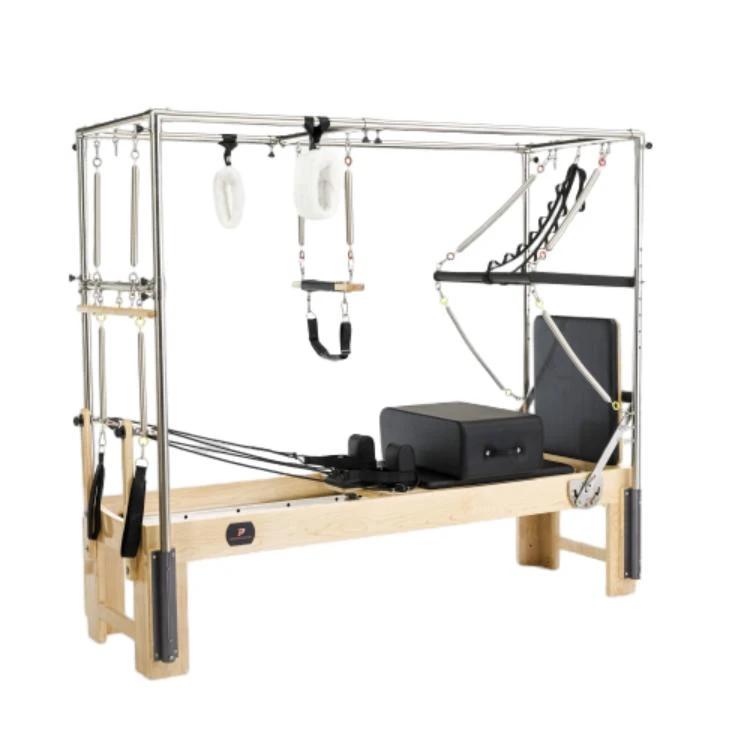
Familiarize yourself with the various components of the Pilates reformer. The key elements include
- The Frame The base of the reformer that houses all other components. - The Carriage The sliding platform where you perform the exercises. - The Springs Adjustable springs provide resistance and can be modified according to your workout intensity. - Footbar This can be adjusted to different heights and angles, allowing for diverse exercises. - Shoulder Rests Positioned on the sides of the carriage, they help secure your body during workouts. - Headrest Provides support for your neck and head during various exercises.
Understanding these parts will help you effectively adjust and utilize the reformer.
Position the footbar correctly according to your height and the type of exercises you plan to perform. For beginners, it's usually best to have the footbar at a mid-level height. For exercises targeting the legs, ensure that it is set low enough to allow your feet to rest comfortably while still providing resistance through the springs. Once positioned, carefully check if it’s secure.
setting up pilates reformer
4. Setting the Springs
Choosing the right springs is crucial for a productive workout. Different exercises require varying degrees of resistance. Start with lighter springs if you're new to Pilates and gradually increase the resistance as you become more comfortable and stronger. A general rule is to use lighter springs for upper body exercises and heavier springs for lower body routines. Familiarize yourself with the color coding of springs—usually red (heavy), blue (medium), and yellow (light)—to make quick adjustments.
5. Positioning the Carriage
Ensure the carriage moves smoothly along the frame. Before starting your workout, check that the wheels are free of any obstructions and are properly aligned with the rails. This will prevent any distractions or untimely stops during your session.
6. Adding Accessories
Depending on your workout style, you may want to add some accessories, such as a box or resistance bands. The box, for instance, can be beneficial for various stretches and leg exercises, while resistance bands can enhance upper body workouts.
7. Proper Safety Measures
Safety should always be your priority. Make sure to perform a quick safety check before each session. Ensure that the springs are securely attached, the carriage is free to move, and that the footbar is stable. If you’re using the reformer in a studio setting, be aware of your surroundings and other users.
Conclusion
Setting up a Pilates reformer may seem daunting at first, but with a little practice, you’ll soon master it. By choosing the right space, understanding the equipment, and following these steps, you will create a safe and efficient environment for your Pilates workouts. Remember to listen to your body, take your time to learn each exercise, and enjoy the journey of improving your strength and flexibility. Happy practicing!
Latest news
-
Types of Pilates Machines Used in Group Classes Versatility GuideNewsJul.07,2025
-
Pilates Spine Corrector Benefits for Posture and Core StrengthNewsJul.07,2025
-
Pilates Chair for Sale Adjustable Spring Systems for All Fitness LevelsNewsJul.07,2025
-
Ladder Barrel for Sale Commercial-Grade Wooden ConstructionNewsJul.07,2025
-
Eco-Friendly Pilates Studio Equipment Sustainable Materials GuideNewsJul.07,2025
-
Adjustable Pilates Chair Settings for All Fitness LevelsNewsJul.07,2025
- Address
- Room 1601, 1302, Building A, Zijingguandi, Qiaodong District, Xingtai City, Hebei Province, China
- Sandra@raetin.com
- Phone
- +86 18231139331

